This example uses a Canvas node together with a Timer to draw a moving smiley.
The Canvas node is a special node the you can draw on. The code itself is quite simple.
On each tick Canvas.ClearRect is called to erase the previous frame, the smiley is moved and drawn again with Canvas.DrawImage.
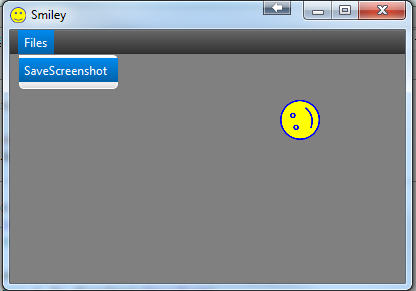
In this example we also programmatically add a menu which saves the canvas drawing to a file. Note that in most cases it is easier to build the menu with the scene builder.
The following code creates a FileChooser and saves the image to the selected file:
B4X:
Sub mnuScreenshot_Action
   Timer1.Enabled = False
   Dim fc As FileChooser
   fc.Initialize
   fc.SetExtensionFilter("Image", Array As String("*.png"))
   Dim fileName As String = fc.ShowSave(MainForm)
   If fileName <> "" Then
     If fileName.ToLowerCase.EndsWith(".png") = False Then fileName = fileName & ".png"
     Dim out As OutputStream = File.OpenOutput("", fileName, False)
     cvs.Snapshot.WriteToStream(out)
     out.Close
     Log("File saved: " & fileName)
   End If
   Timer1.Enabled = True
End Sub
Note that you can take snapshots of other types of nodes as well.