Hi all
*EDIT3*
For a much easier to set up and faster Android emulation please now look at this thread:
GeanyMotion
http://www.b4x.com/android/forum/threads/android-emulation-super-fast-speed.30586/
*********************************
*EDIT2* Have a look at AndroVM which should make the whole "Android on a PC" process easier to set up.
(Credit to Drowles for finding this)
I recommend the new method which is a lot less hassle than the old method below
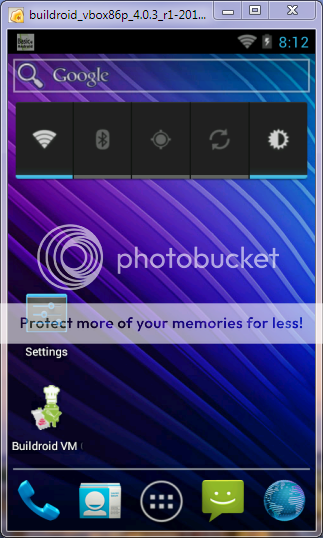
I am enjoying B4A even more so now after installing a super-fast Android on my Windows PC. The install is actually a virtual Android (Froyo/GingerBread/Icecream Sandwich) and is MUCH faster than the emulator!
NEW METHOD - Quick steps
1. Install Virtual Box
2. Download one of VM's (OVA files) from AndroVM's download page
3. Double-click the OVA which should start Virtual Box and import it. If not, import the OVA from within Virtual Box File menu>Import
4. BEFORE running the VM, change the following under Settings > Network:
6. Double-click the androVM_vbox86x_xxx to start the Android VM
7. From the Android VM launch the AndroVM Configuration app to find out the IP settings
8. Go to Settings > {} Developer Options. Enable the option. Enable USB debugging
9. Establish a connection via Androids ADB. Tip: It it easier to create *.BAT file with the following script, changing path/IP settings to accordingly):
If all is well B4a should be able to compile and send the app straight to the running Android VM
Windows keys and their Android actions (Ice cream Sandwich)
================================================
Android BACK key ---> Escape key
Android HOME key ---> Home key
Android MENU key ---> F1 or F10
Android POWER button ---> End key
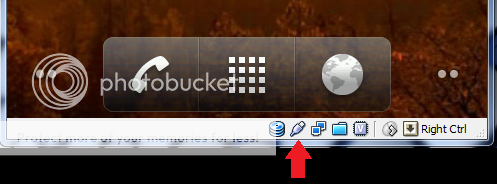
Right Control = Default HOST key (break out of virtual Android)
************************
Old Method
INSTALLATION
======================================
First of all, follow this excellent guide for setting up and installing
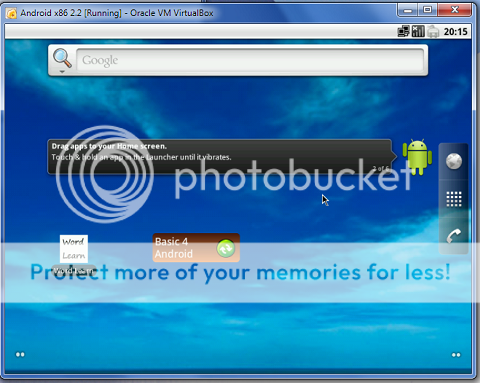
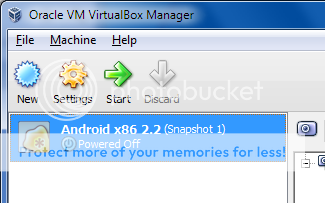
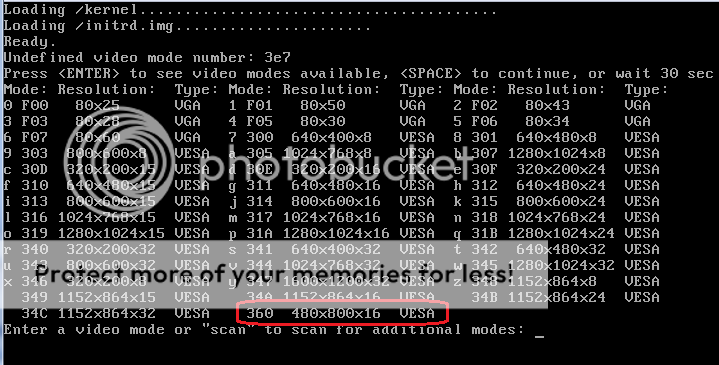
How to install Android x86 2.2 (with Virtual Box)
At STEP 5 you can go straight for the Live CD option for initial testing
BEFORE LAUNCHING THE VIRTUAL ANDROID
=========================================
set the VirtualBox machine's network mode (under Settings > Network) to Bridged Adapter and accept the defaults. Your PC and emulated PC will now have IP addresses in the same range
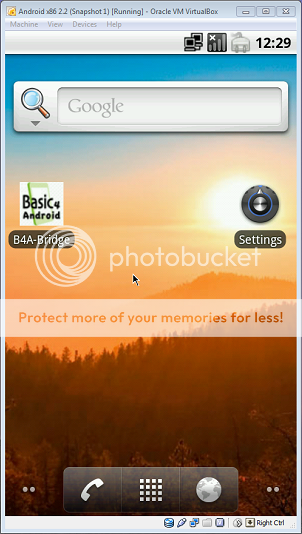
Double-Click the virtual Android entry to launch the virtual x86 Android
Once the emulator is running, press Alt + F1
Type netcfg then note the IP address ** (usually starting with 192.168.x.xxx)
Return to the emulator by pressing Alt + F7
Getting B4A to communicate with Android
======================================
Open the Windows command prompt (Start > Run > CMD)
Navigate to wherever Android\platform-tools folder is
Type adb connect 192.168.x.xxx (the address noted at ** above)
Try compiling a B4A project. If everything is good your app/game should appear (very quickly) in the virtual Android
TIP -- You can create a *.bat file to aid in establishing the connection. This is something you can simply double-click to carry out command line instructions. My own "Android-Connect.bat" file contains the following (change path/IP settings to suit):
Happy coding, and enjoy WARP SPEED!
Windows keys and their Android actions
==============================
Android BACK key ---> Escape key (also can use right-mouse button in Froyo/GingerBread)
Android HOME key ---> Home key (also can use Windows Key in Froyo/GingerBread)
Android MENU key ---> Menu key (Froyo/GingerBread)
Android POWER button ---> End key
Right Control = Default HOST key (break out of virtual Android)
*EDIT3*
For a much easier to set up and faster Android emulation please now look at this thread:
GeanyMotion
http://www.b4x.com/android/forum/threads/android-emulation-super-fast-speed.30586/
*********************************
*EDIT2* Have a look at AndroVM which should make the whole "Android on a PC" process easier to set up.
(Credit to Drowles for finding this)
I recommend the new method which is a lot less hassle than the old method below
I am enjoying B4A even more so now after installing a super-fast Android on my Windows PC. The install is actually a virtual Android (Froyo/GingerBread/Icecream Sandwich) and is MUCH faster than the emulator!
NEW METHOD - Quick steps
1. Install Virtual Box
2. Download one of VM's (OVA files) from AndroVM's download page
3. Double-click the OVA which should start Virtual Box and import it. If not, import the OVA from within Virtual Box File menu>Import
4. BEFORE running the VM, change the following under Settings > Network:
Change [Adapter1] Attached to = Host-only Adpater
Change [Adapter2] Attached to = Bridged Adpater then select your Ethernet adapter card under Name
5. Click ApplyChange [Adapter2] Attached to = Bridged Adpater then select your Ethernet adapter card under Name
6. Double-click the androVM_vbox86x_xxx to start the Android VM
7. From the Android VM launch the AndroVM Configuration app to find out the IP settings
8. Go to Settings > {} Developer Options. Enable the option. Enable USB debugging
9. Establish a connection via Androids ADB. Tip: It it easier to create *.BAT file with the following script, changing path/IP settings to accordingly):
d:
cd ..
cd android
cd platform-tools
adb connect 192.168.56.102
adb devices
pause
exit
If all is well B4a should be able to compile and send the app straight to the running Android VM
Windows keys and their Android actions (Ice cream Sandwich)
================================================
Android BACK key ---> Escape key
Android HOME key ---> Home key
Android MENU key ---> F1 or F10
Android POWER button ---> End key
Right Control = Default HOST key (break out of virtual Android)
************************
Old Method
INSTALLATION
======================================
First of all, follow this excellent guide for setting up and installing
How to install Android x86 2.2 (with Virtual Box)
At STEP 5 you can go straight for the Live CD option for initial testing
BEFORE LAUNCHING THE VIRTUAL ANDROID
=========================================
set the VirtualBox machine's network mode (under Settings > Network) to Bridged Adapter and accept the defaults. Your PC and emulated PC will now have IP addresses in the same range
Double-Click the virtual Android entry to launch the virtual x86 Android
Once the emulator is running, press Alt + F1
Type netcfg then note the IP address ** (usually starting with 192.168.x.xxx)
Return to the emulator by pressing Alt + F7
Getting B4A to communicate with Android
======================================
Open the Windows command prompt (Start > Run > CMD)
Navigate to wherever Android\platform-tools folder is
Type adb connect 192.168.x.xxx (the address noted at ** above)
Try compiling a B4A project. If everything is good your app/game should appear (very quickly) in the virtual Android
TIP -- You can create a *.bat file to aid in establishing the connection. This is something you can simply double-click to carry out command line instructions. My own "Android-Connect.bat" file contains the following (change path/IP settings to suit):
d:
cd ..
cd android
cd platform-tools
adb connect 192.168.56.102
adb devices
pause
exit
Happy coding, and enjoy WARP SPEED!
Windows keys and their Android actions
==============================
Android BACK key ---> Escape key (also can use right-mouse button in Froyo/GingerBread)
Android HOME key ---> Home key (also can use Windows Key in Froyo/GingerBread)
Android MENU key ---> Menu key (Froyo/GingerBread)
Android POWER button ---> End key
Right Control = Default HOST key (break out of virtual Android)
Last edited:
")